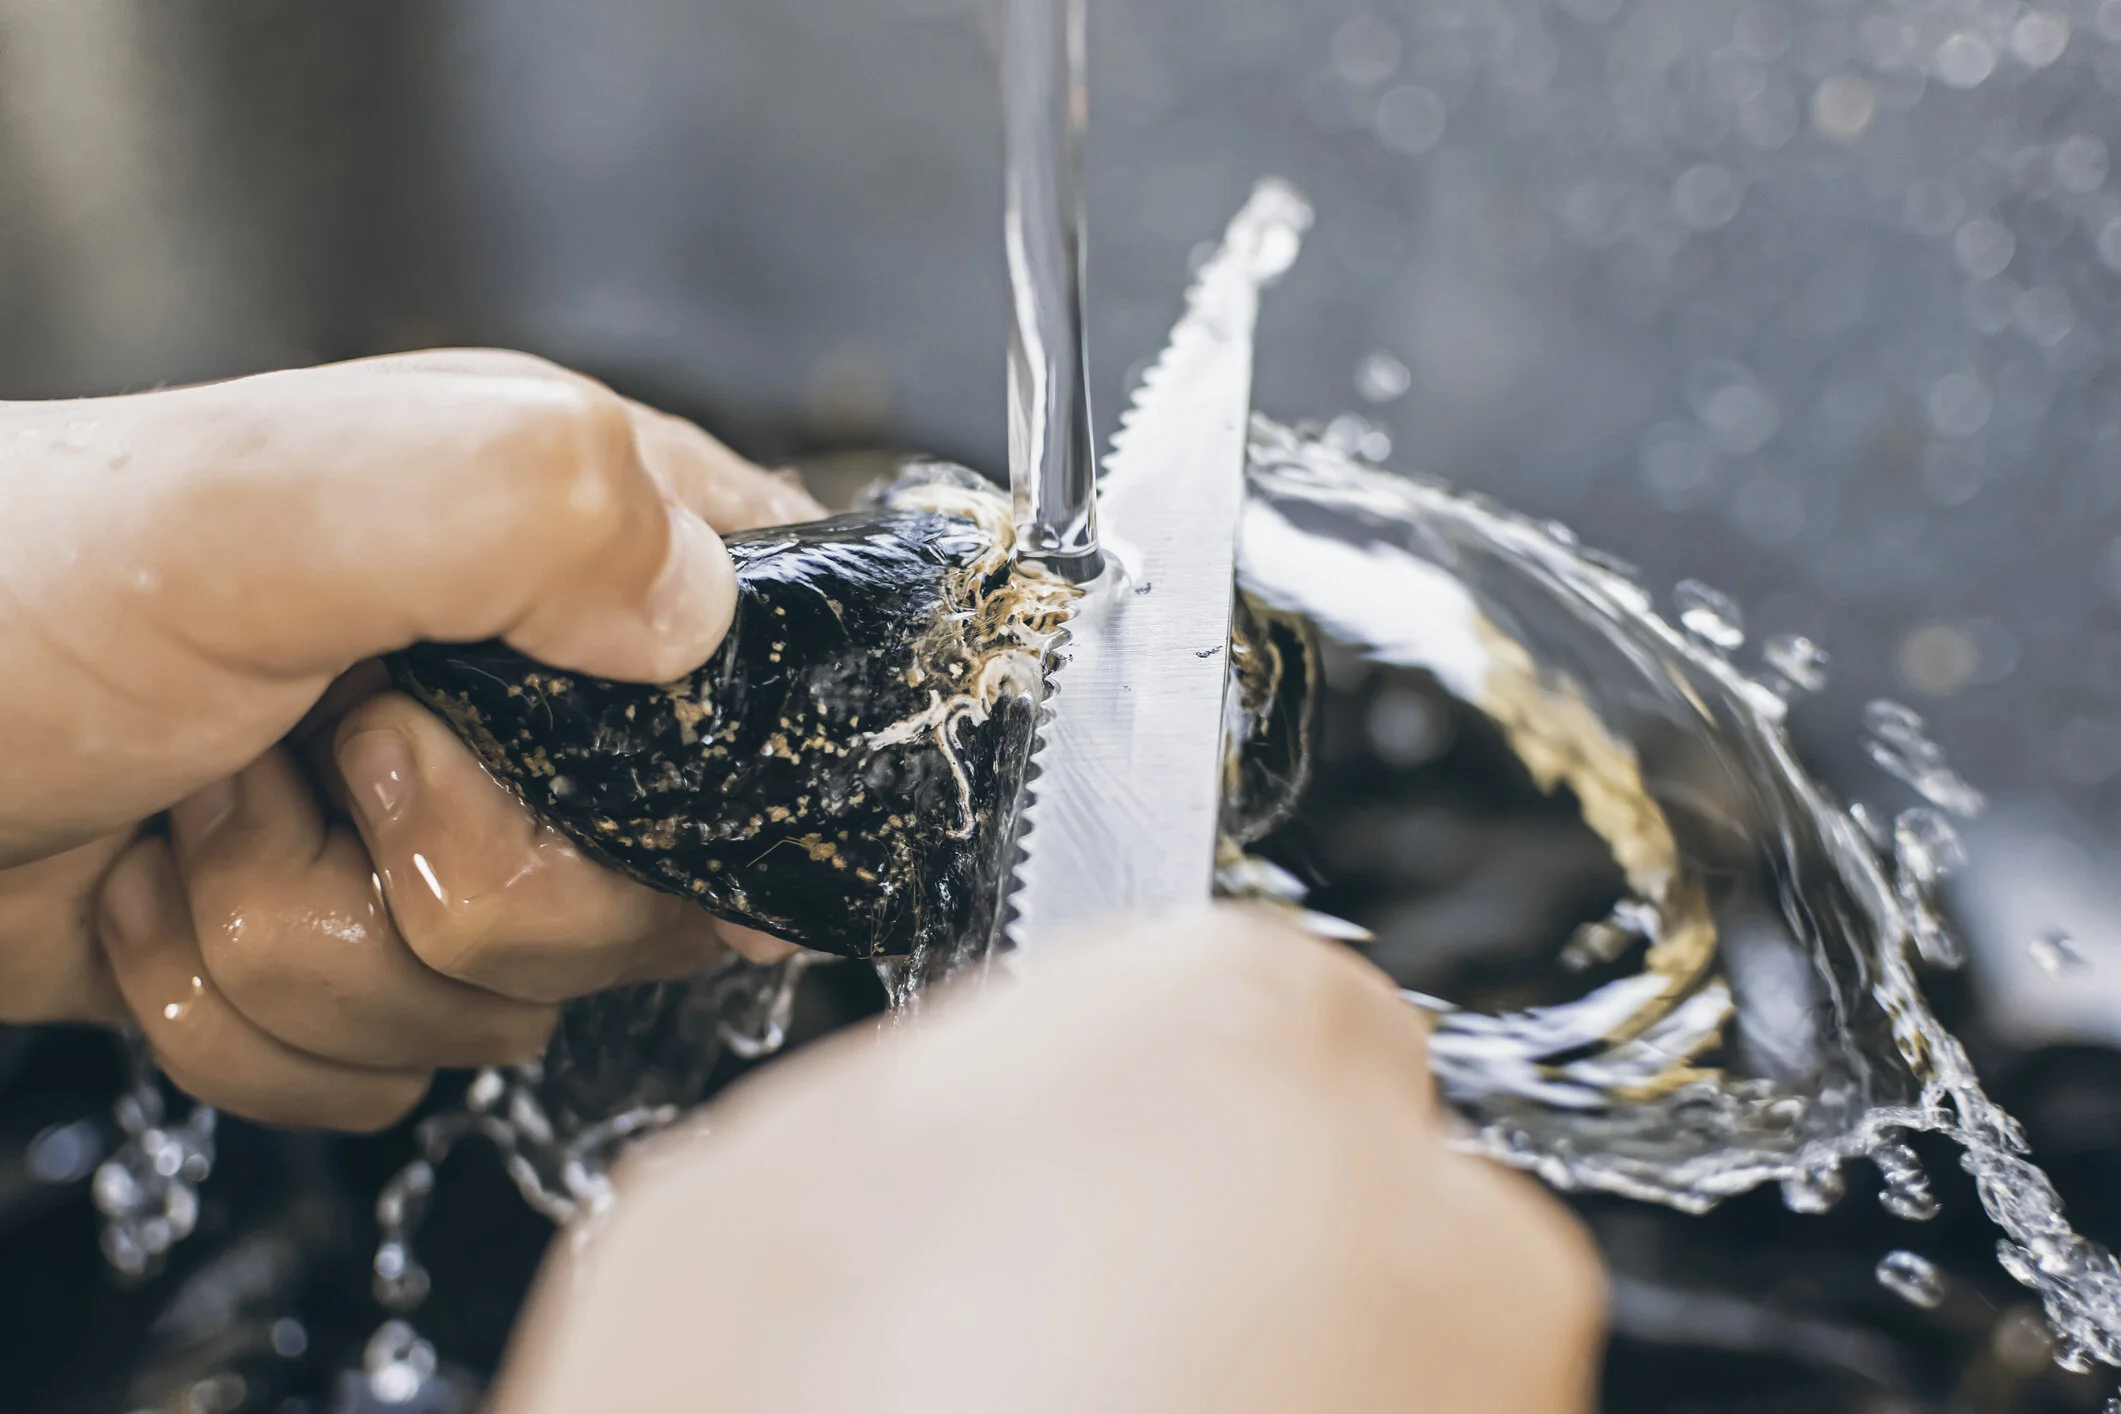
How to clean and debeard mussels.
This can be the messy part but honestly it is so easy to do! As our mussels come straight from the farm, they’ll need a little cleaning up before you cook and serve them. Here’s how it’s done!
You’ll need:
fresh water
a colander or large bowl
Time: This should take about 15 mins depending on how many mussels you have.
Place the mussels in a colander or large bowl in the sink and run them under water. Use your hands or a scrubbing brush to rub off any debris. You may find some mussels with open shells and the common belief is that these mussels aren’t good to keep. As ours are so fresh these guys are often just gapping because they've been out of the water - the best way to work out if they’re still good is to lightly press the shell together or tap against the side of the sink. If the mussel closes up it's alive and perfect to eat! If it doesn't, then go ahead and discard it but give them a few minutes to close before you do so.
To take off the ‘beard’, grab a mussel in your hand and hold onto the fibres that poke out from the shell. This is how the mussel attaches itself to the rope in the water. In one quick motion pull the beard down and away with your thumb and forefinger towards the hinge or bottom of the shell, removing the beard in one move. A knife is often handy to scrape away the beard but we like to be fast so using your hands will work just fine. Some mussels hold onto their beards a little tighter than others but don’t be too precious here, rip them away as best you can. You might find some without a beard, these have already been removed when the mussels were taken out of the water… lucky you!
Do this for all of your mussels keeping the debearded ones off to the side as you go.
And that’s it! A lot easier and quicker than people think. Now they’re ready to go and cook in your favourite dish. Please note: once you debeard your mussels they will need to be cooked and eaten that day. If you don’t plan on eating your mussels on the day you bring them home read our post here on how to store them.

